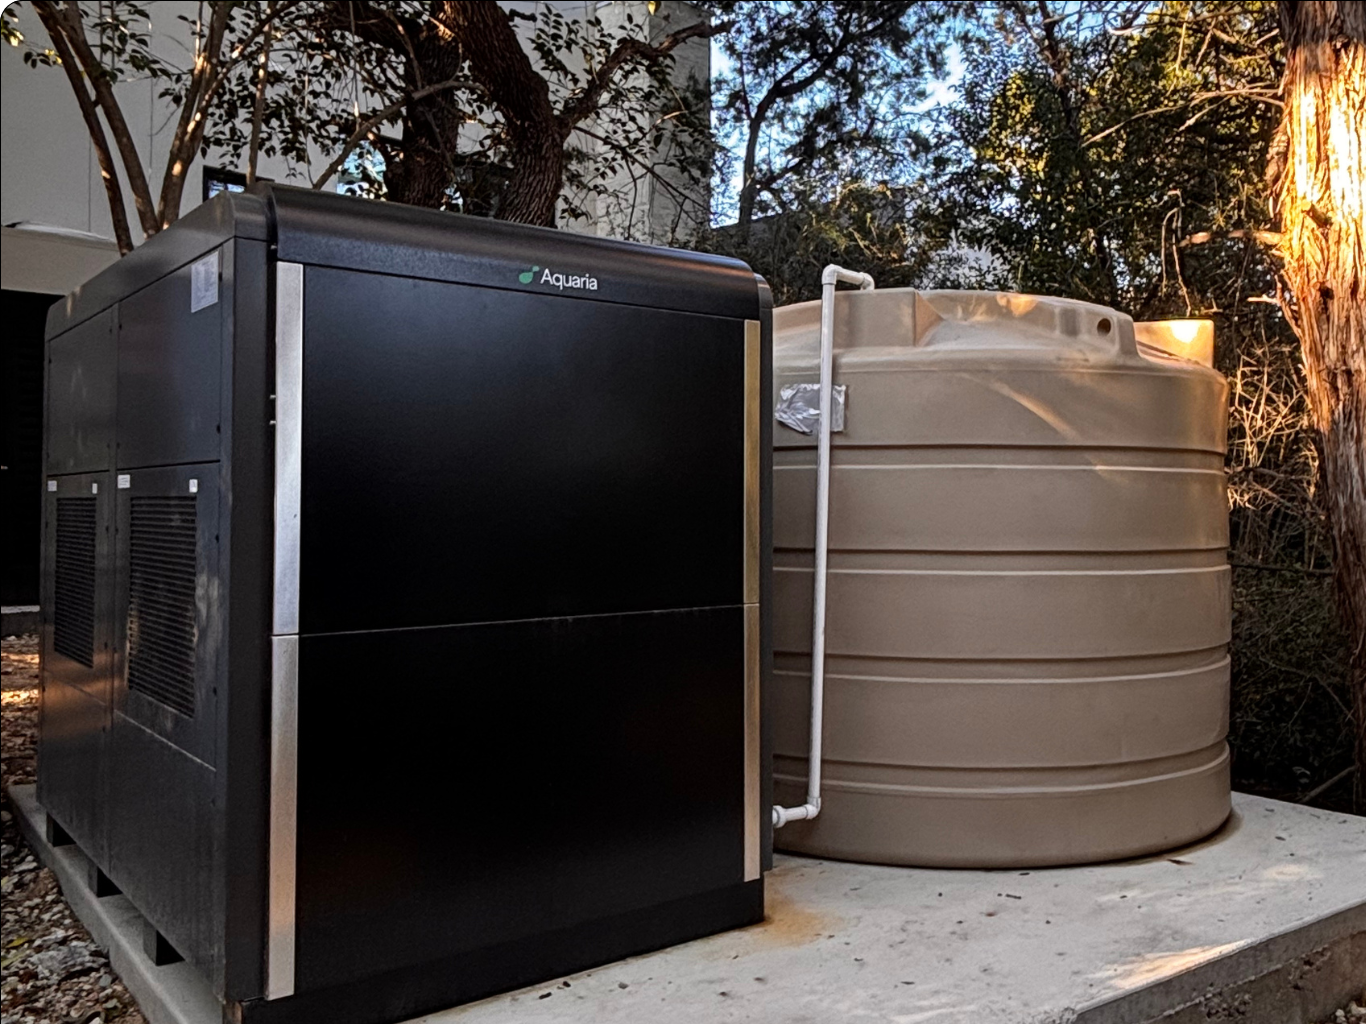
How to Keep a Water Storage Tank Clean
Maintaining a water storage tank is an important part of keeping your home or office running smoothly. However, it can be difficult to know where to start and what supplies you need in order to do the job properly. This guide will provide you with all the information you need to get started on cleaning your water storage tank.
How Often Should a Water Tank be Cleaned?
The frequency of cleaning your water tank will depend on a few different factors, such as the size of the tank and the amount of use it gets. In general, however, it is recommended that you clean your water tank at least once every three years.
If your water tank is used frequently or if it is exposed to sunlight or other sources of heat, you may need to clean it more often. You should also be sure to clean your tank if there is any evidence of algae or other growths inside or if you suspect a problem.
What Supplies Do I Need?
In order to properly clean your water storage tank, you will need a few supplies. These include:
- A garden hose
- A stiff brush
- A mild detergent
- Bleach
You may also need a ladder if your water tank is not easily accessible from the ground.
How Do You Sanitize a Water Tank?
1. Begin by draining all of the water from your tank. You can do this by attaching a garden hose to the drain valve at the bottom of the tank and opening the valve.
2. Once the tank is empty, brush any dirt or debris from the sides and bottom of the tank.
3. Mix together a solution of mild detergent and water, and use this to scrub the inside of the tank. Be sure to rinse the tank thoroughly with clean water when you are finished.
4. Mix together a bleach solution using one part bleach to nine parts water. This solution should be used to sanitize the inside of the tank.
5. To do this, fill the tank with the bleach solution and let it sit for at least an hour. After this time has elapsed, drain the tank and rinse it several times with clean water.
6. Once the tank is clean and sanitized, you can refill it with fresh water.
It is important to note that you should never mix bleach and detergent together. Doing so could create harmful fumes that could be dangerous to inhale.
How Do You Clean Sediment Out of a Water Storage Tank?
1. Begin by draining all of the water from your tank. You can do this by attaching a garden hose to the drain valve at the bottom of the tank and opening the valve.
2. Once the tank is empty, brush any dirt or debris from the sides and bottom of the tank.
3. Use a stiff brush to scrub any sediment from the bottom of the tank.
4. Rinse the tank thoroughly with clean water when you are finished.
5. Once the tank is clean, you can refill it with fresh water.
How Much Bleach Do You Add to Water for Storage?
When mixing bleach and water for storage, you should use a ratio of about 1/4 tsp. of bleach for every gallon of water. This will create a solution that is strong enough to sanitize your tank but not so strong that it will be harmful to inhale or drink.
When adding bleach to your water storage tank, it is important to pour the bleach in slowly and avoid splashing it on the sides of the tank. You should also be sure to ventilate the area well before and after adding bleach to the water.
How Often Should I Test My Water Storage Tank?
It is recommended that you test your water storage tank at least once a year for bacteria and other contaminants. You can purchase a water testing kit at most hardware stores.
If you have any concerns about the quality of your water, you should contact a professional to test your tank and recommend a course of action.
How Do You Keep Algae From Growing in a Water Tank?
Algae can often grow in water tanks, especially if the tank is exposed to sunlight. There are a few ways to prevent this from happening:
1. Use a lid or cover on your tank to keep light out.
2. Add a small amount of bleach to the water to kill any algae spores that may be present.
3. Use an algaecide to prevent algae from growing.
4. Keep the tank clean and free of debris.
5. You can also add a UV filter to your tank to kill any algae that may be present.
Other Tips for Cleaning Water Tanks & Filters
From time to time, you may also need to clean your water tank’s filters or perform a quick cleaning of the entire system. These tasks are typically easy to do and only require a few simple tools.
Backwashing to Clean Filters
If your filters become clogged, you may need to backwash them to clean them. This is a simple process that can be done in a few minutes:
1. Turn off the pump and close the valve that supplies water to the tank.
2. Open the valve that drains water from the tank.
3. Allow the water to drain until it is about half empty.
4. Close the valve that drains water from the tank and open the valve that supplies fresh water.
5. Turn on the pump and allow fresh water to fill the tank.
6. Once the tank is full, turn off the pump and close the valve that supplies fresh water.
7. Open the valve that drains water from the tank and allow the water to drain completely.
8. Close the valve that drains water from the tank and open the valve that supplies fresh water.
9. Turn on the pump and allow fresh water to fill the tank.
10. Once the tank is full, turn off the pump and close the valve that supplies fresh water.
Shocking a Tank
The second method you can try is called “shocking.” This involves adding a large amount of chlorine to the water to kill any bacteria or algae that may be present. To shock your water tank, follow these steps:
1. Turn off the pump and close the valve that supplies water to the tank.
2. Open the valve that drains water from the tank.
3. Allow the water to drain until it is about half empty.
4. Close the valve that drains water from the tank and open the valve that supplies fresh water.
5. Turn on the pump and allow fresh water to fill the tank.
6. Once the tank is full, turn off the pump and close the valve that supplies fresh water.
7. Add chlorine to the tank (consult a professional for proper dosage).
8. Allow the chlorine to circulate for at least 24 hours before draining the tank.
9. Open the valve that drains water from the tank and allow the water to drain completely.
10. Close the valve that drains water from the tank and open the valve that supplies fresh water.
11. Turn on the pump and allow fresh water to fill the tank.
12. Once the tank is full, turn off the pump and close the valve that supplies fresh water.
A Clean Tank Means Better AWG Performance
Above all else, keeping your water tank clean is a matter of being proactive. By regularly testing your water and performing routine maintenance, you can avoid potential problems down the road. After all, the cost of replacing a water tank can be pretty expensive. If you have any concerns about the quality of your water, don’t hesitate to contact a professional for help.
At Aquaria, we aim to revolutionize the way Americans think about their water sources. Our goal is to provide clean, safe water for all. To learn more about our products and services, reach out to request a quote today!